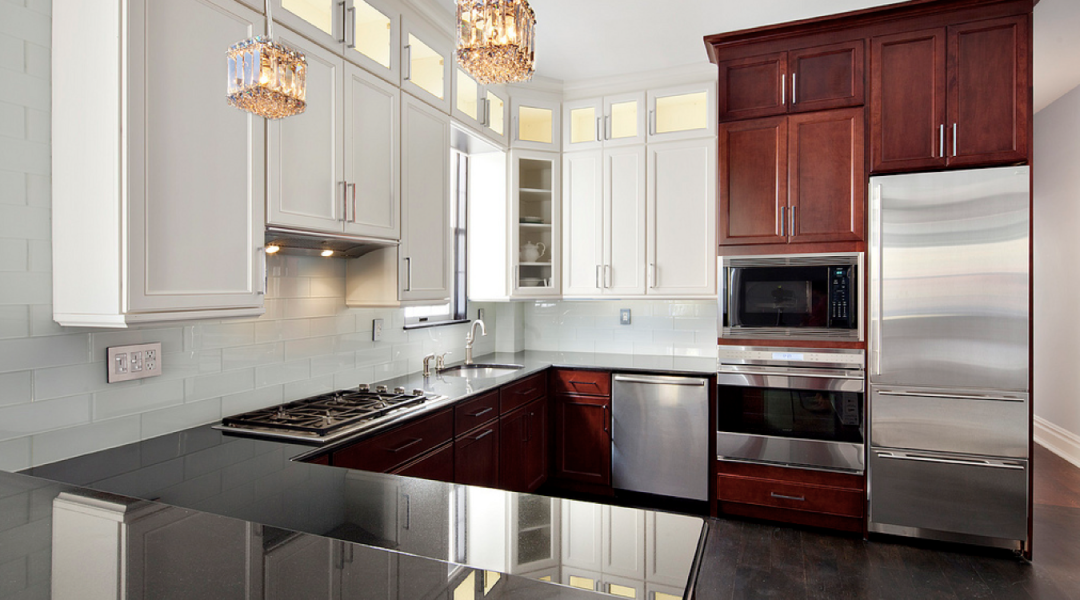
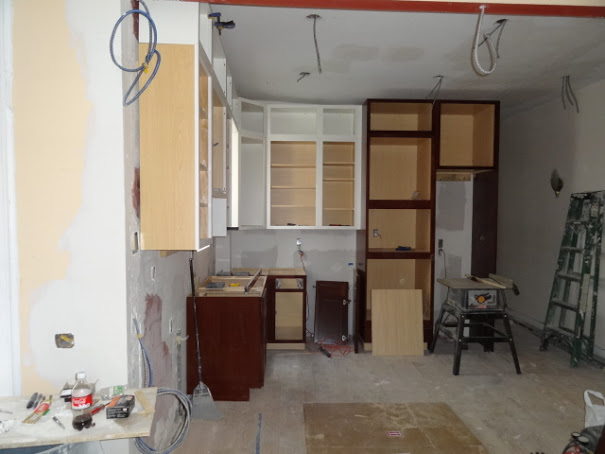
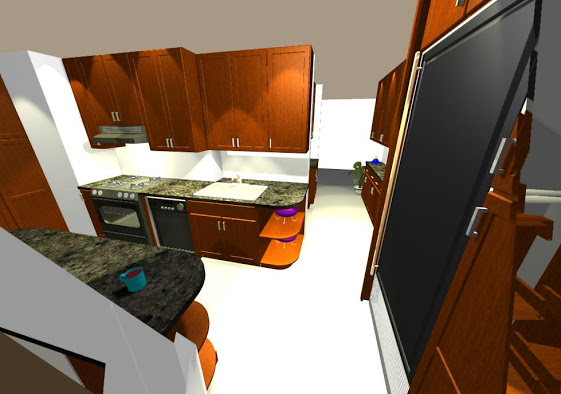
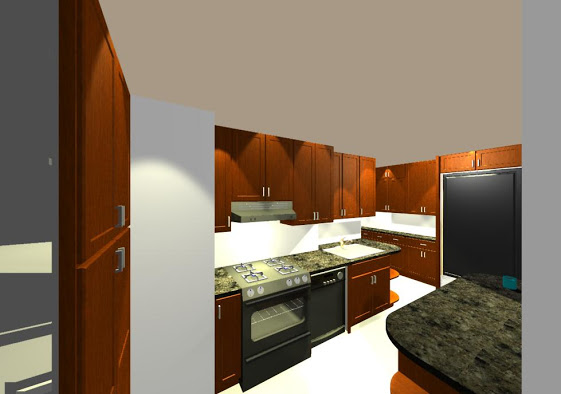
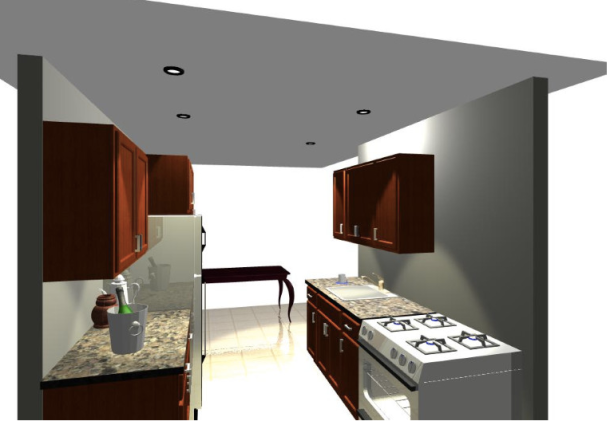
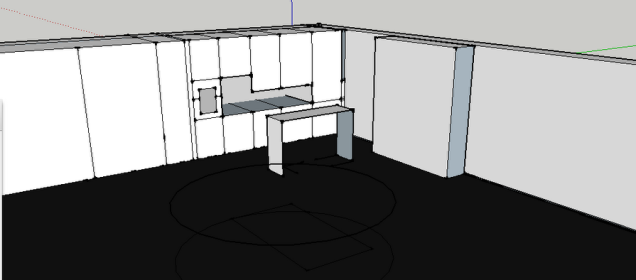
BEFORE
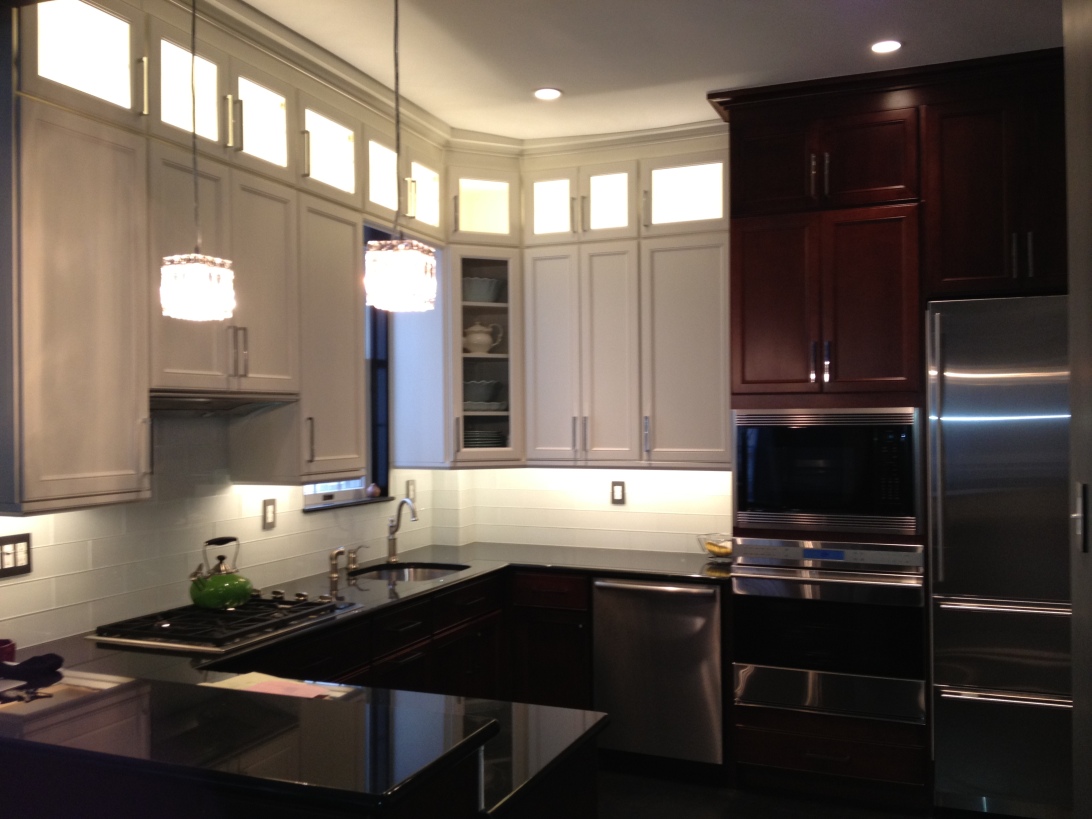
AFTER
THE KITCHEN INSTALLATION PROCESS
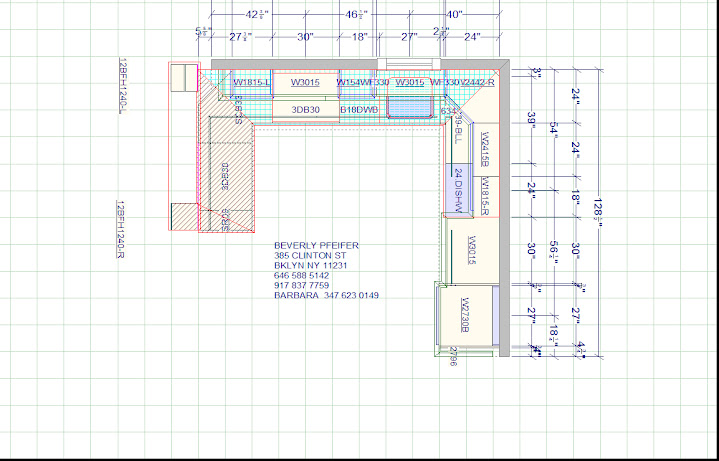
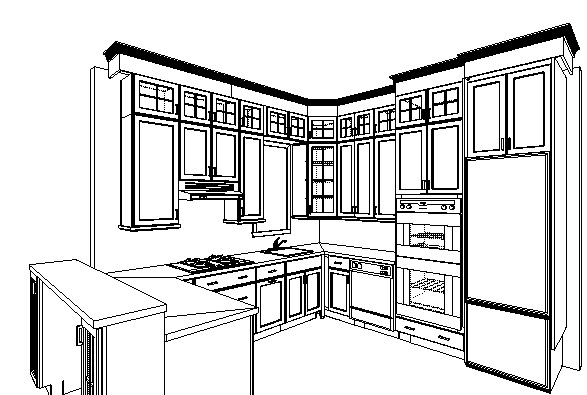
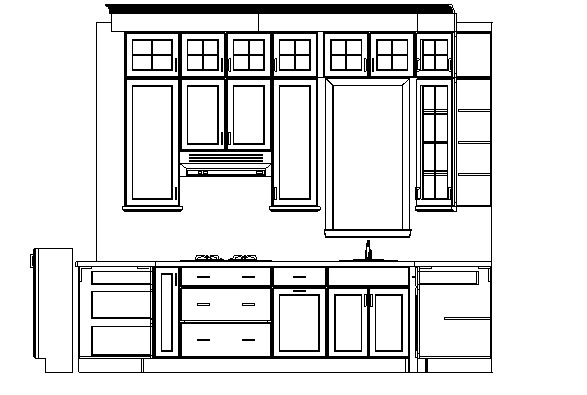
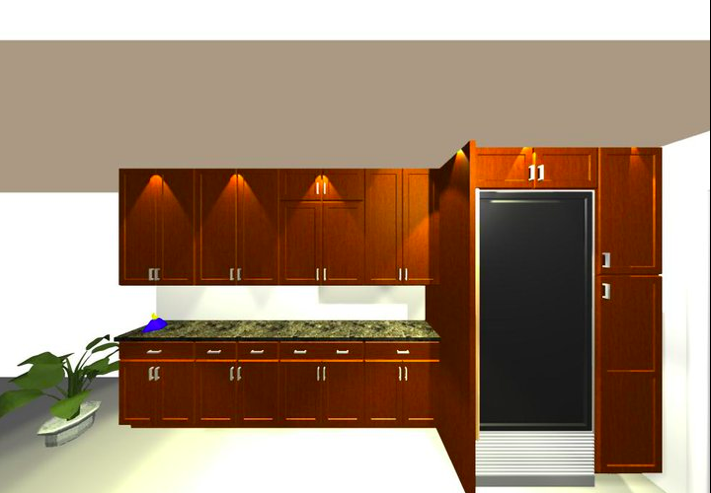
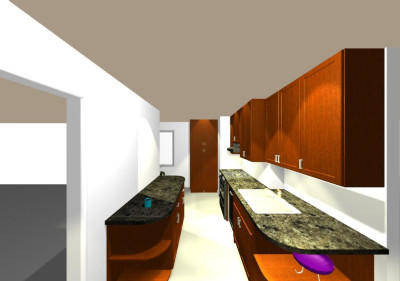
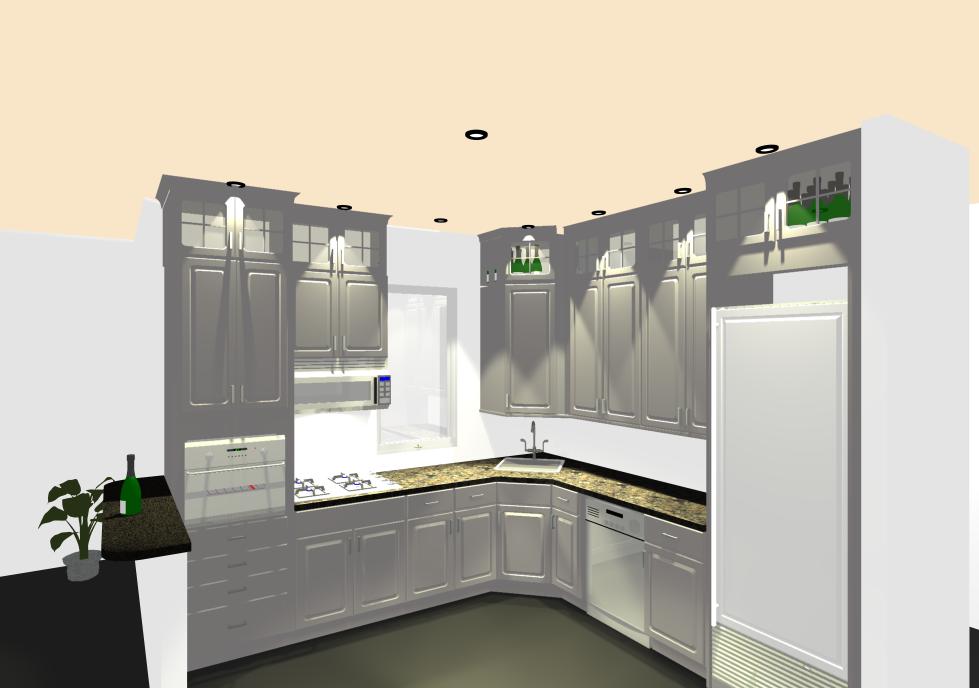
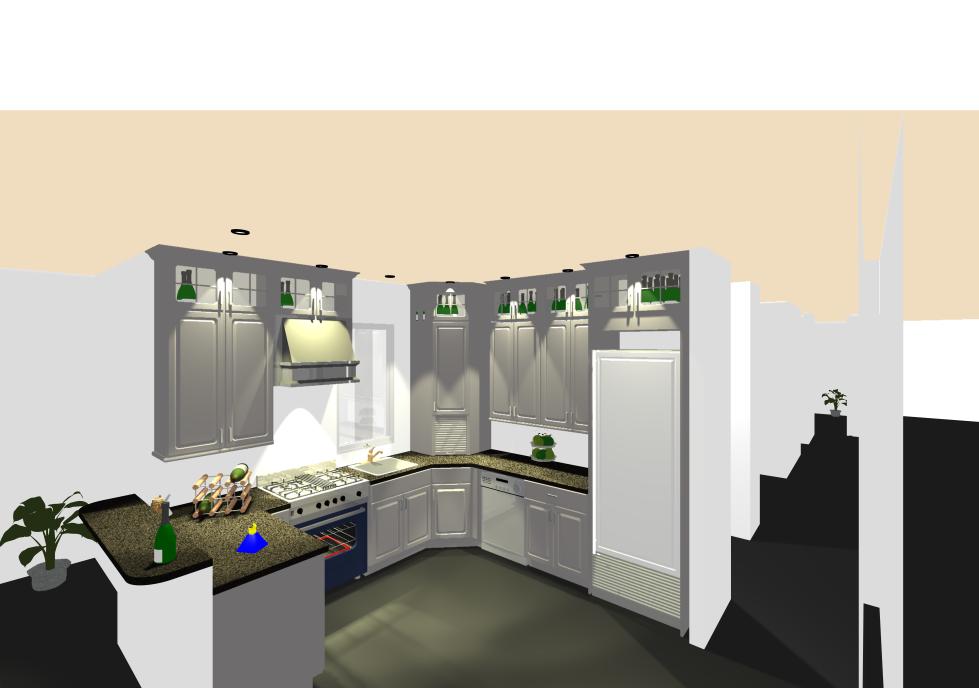
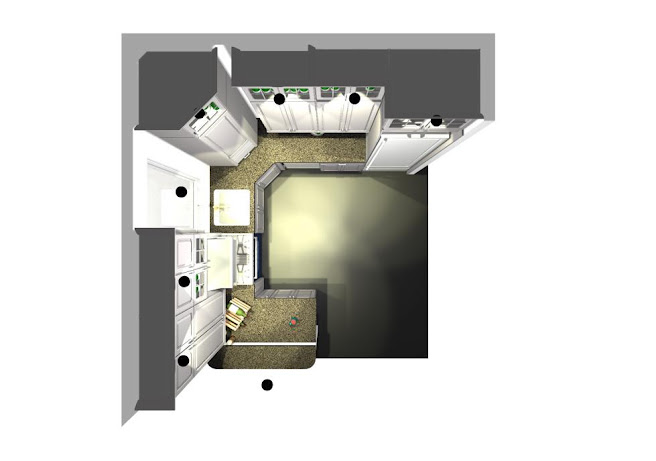
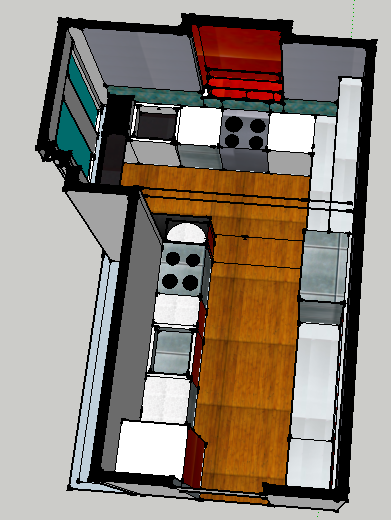
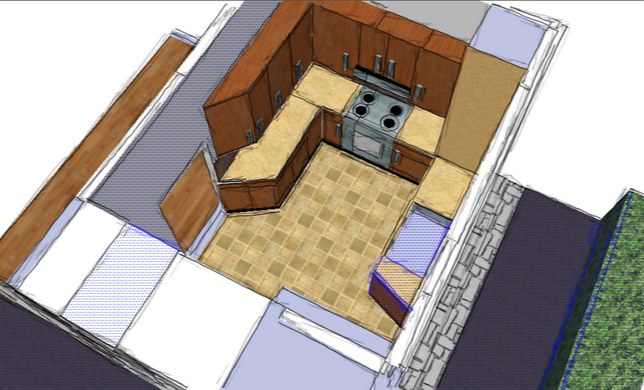
Create a 20/20 final plan like the one below of the new kitchen using accurate measurements and making sure that all materials arrive prior to the first day of construction. This is how one can avoid delays.
DEMOLITION
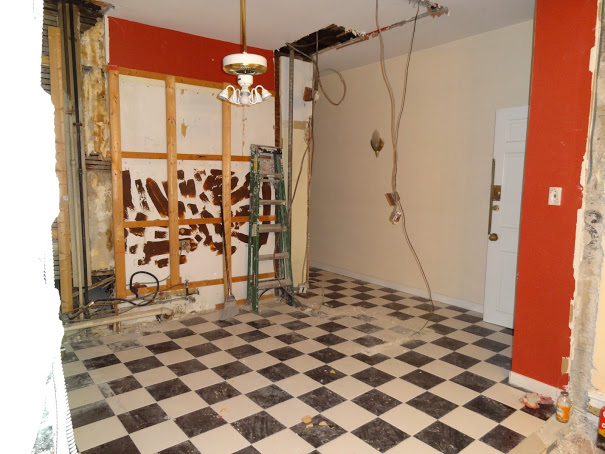
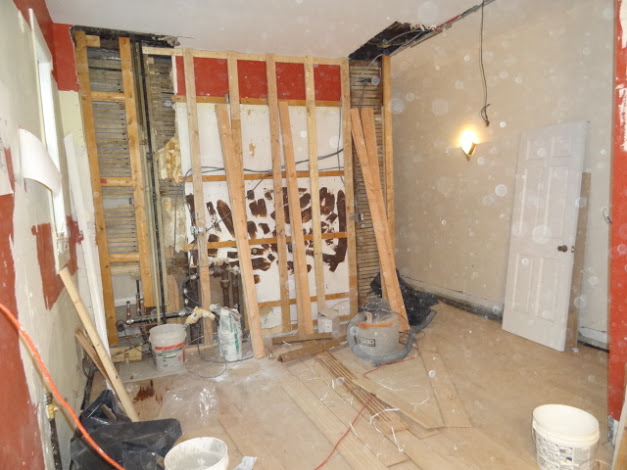
In this kitchen, we demolished the refrigerator wall which also had both electricity and plumbing. In this photo below, you can see the electrical wiring hanging from the ceiling and going all the way down to the concrete floor. In many demolitions, there is old plumbing and wiring hidden inside the wall and it is something that you need to consider in the cost when doing a renovation because whenever you demo, there can be lots of surprises found in an existing wall. The goal is to avoid as many of these surprises as possible. Therefore, one needs to consider this possibility when building a New Kitchen and to advice the client to have extra money set aside for this.
Demolition of a kitchen usually takes a 1-5 days depending on what needs demolition. The easiest way to keep the cost down is to not knock out walls but this may not be the design goal which is to enhance the living space as much as possible. In this kitchen, our team demolished these cabinets in one day. The concrete floor, which is very heavy and hard to dispose of, took another day. Then there was another day for the electrician and plumber to be on site to remove unwanted wires and pipes. It is also important to note that the demo process creates a mess and there will be a lot of dust. Therefore, the client needs to know that construction process needs to be considered well in advance to reduce the amount it takes to do the job efficiently.
 DEMOLITION REQUIRES REPAIR OF ADJACENT SURFACES
The below photo shows how the ceiling will also need to be repaired following demolishing an old wall. This photo also shows how the electrician will need to remove the wiring from the ceiling to the concrete floor as well as how the plumber will need to remove the pipe that was inside of the wall. This client is getting a new floor. So, there will be no extra repairs for the floor. However, the cabinet walls will also need to be repaired as well. This is an excellent photo showing how this needs to be considered when doing a renovation.
Since the pipe in the demo wall is not attached to any working plumbing, it will be removed instead of re-routed to another location which could have required more demo and repair. This pipe was a surprise in this renovation and there was no evidence from the exterior of the wall to indicate that we would find it when knocking down the wall. Luckily in this renovation, the pipe can be cut instead of re-routed which would be an additional cost because it would require more demo and repair of existing walls. The electricity, on the other hand, was indicated to us since there were wall receptacles to power the refrigerator. However, sometimes electricity could be hiding away in a wall in a metal box buried inside the wall. So, the electrician for this job needs to put a metal box inside the ceiling where the wires will be cut to avoid any potential of fire. This new hole will also require a patch and repair in the ceiling.
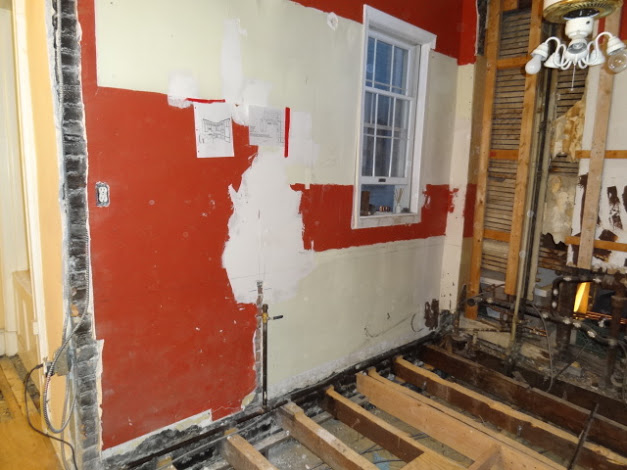
We also demolished the partition wall. In this photo below on the left hand side, notice how the electrical outlet in the old partition wall will need to be relocated to the left or else it will need to be disconnected. However, the client wants a 220 receptacle outlet to plug in her air conditioner. So, anywhere you see electrical in a wall that is coming down, then one must consider how to re-route or disconnect these items because the wires or pipes will not go away when the wall comes down. As a result, it is important to watch out for this when writing and signing a work scope proposal. If it is not addressed in the work scope proposal that the client signs, then when the wall comes down, the client should expect a change order which means more money. Therefore, to stay on budget, it is important to address as many of these clues as soon as possible in order to see how much the job will really cost in the end.
This photo below show the removing of the two part back wall on the right side of the photo and exposing the old plumbing. The old drain underneath the window will be removed and the plumber will need to re-route the old plumbing through the new built out wall on the right. This is installing new branch plumbing. Branch plumbing is any plumbing from the vertical stack to the various plumbing fixtures. These plumbing fixtures could be sinks, faucets, dishwashers, bathtubs, toilets and refrigerators with ice makers. It is recommended to change the branch plumbing for old home renovations because if there is a problem later on in the future, a client does not want to be knocking down a wall that they just built to fix plumbing or electrical issues. It will cost more money in the end because then one will need to patch, repair, sand and paint again. So, it is advisable to upgrade branch plumbing and the circuit breaker box installing new wiring and plumbing upfront when doing a new complete renovation. In fact, walls, ceilings and floors should be done as well if one wants a completely brand new look in their home. After all, if the floor is not level or if the ceiling is not level, it is hard to install new cabinets or put in crown molding and make it look fantastic. This is why we put in a new floor in this kitchen all the way down to the beams.
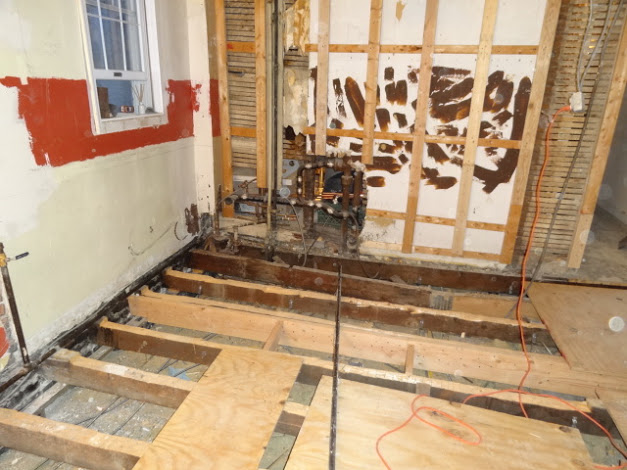
The below photo shows once again, the exposed plumbing and wiring, after a complete demo of the kitchen including right wall demo. Notice how the concrete floor is not level and will need to be removed. Once again, this is an example showing how the affected surfaces from the demo wall will require repair. In fact, the options for affected surfaces are to be repaired or removed and then re-built.
In the below photo, here is a a closer look at the old drain and hot and cold plumbing line. The plumber will need to remove the flex hose gas line where the old gas stove was.
In the photo below, here is a closer look at the wires and pipes that need to be removed from the demo wall.
In the photo below, here is a great example of how the ceiling will need to be repaired or replaced. For the best job, a new ceiling will look better but in this case, we patched, repaired and leveled the ceiling since the client preferred this option.
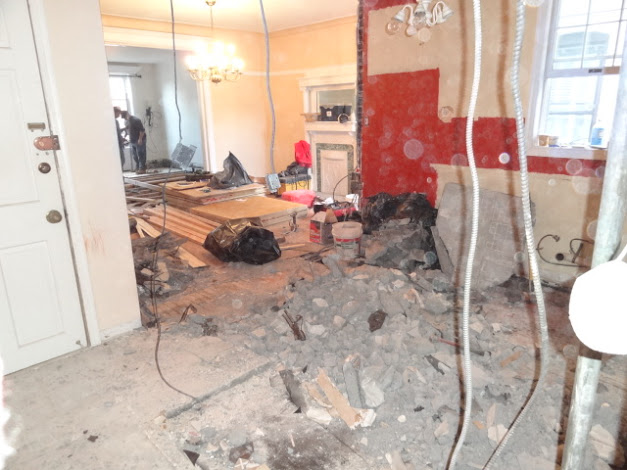
Here is a detail showing the issues with the floor now that the wall is gone. In this cases, the client wanted the floor to be level with the rest of the apt. So, we removed the concrete, wire mesh in order to make way for the new wood floor. Although it was not clear that there was concrete underneath this floor, the hint that suggests that this is the case is the floor was tiled. After all, in the olden days when a contractor wanted to make sure that the job is done right and wanted to ensure that the time would not crack, he would pour concrete or some mud (i.e. concrete mix) so that he would not be asked to come back. Today, this is also done but sometimes contractors use backboard to lay tile. In this case, we removed the concrete to make way for a wide plank wooden floor.
REMOVING THE CONCRETE FLOOR
Removing the concrete and tile from the kitchen floor and finding a wood floor underneath which was also removed. This is an example example showing layers of flooring. When one wants a floor to be level, it is recommended that all layers of flooring are removed and that the beams be leveled with sister beams. This is how one builds a floor with the highest professional standards.
Removing this concrete floor required three men to do in one day. As you can see, the concrete demolition makes a mess. It is also very heavy to carry up and down stairs and out to the dump.
LOOK AT WHAT ONE CAN FIND DURING A FLOORING DEMO: OLD GAS PIPES
After removing the transition floor between the kitchen and dining room, we found old gas pipes that need to be removed in the floor. They were not connected to anything. However, this is a good example of showing how pipes can run through the floors. Our plumber cut and capped off the ones that interfered with the floor leveling. There can also be wiring but none of this wiring interfered. We just vacuumed around the light fixtures from the apt below to avoid any potential fire.
INSTALLING THE NEW BRANCH PLUMBING
In this photo below, the plumber has began to remove the pipes and put in new ones after the concrete floor was removed.
REMOVING THE ELECTRICAL WIRES FROM THE FLOOR
Now that the concrete floor has been removed, the electrician can now removed the wires from the floor.
LEVELING THE BEAMS TO ENSURE A LEVEL FLOOR
In the below photo, this shows how we can install and level the new floor now that the concrete floor and old plumbing has been removed. Notice that the new plumbing has been installed with a gas line over by the new gas stove location. The sink drain has not been done yet but the branch plumbing line is nearly complete and will need to be completed after we install the base corner cabinet. This is because the window wall is a brick and the client did not to pay to build the brick wall out. The electrician should also be doing the rough in the brick wall any day now as well.
NWFA’s Installation Guidelines dictate that the floor must be flat to within 1/4 inch over 10 feet or 3/16 inch over 6 feet. Also the National Wood Flooring Association recommends installing a wood floor last but that works better in new construction. In this remodel, we installed the flooring before the cabinet install because we wanted the cabinets installed on a level surface. We protected the floor by not sanding and staining the flooring until last stage of the project. It is possible to install the cabinets first on a subfloor and then later install the floor after the cabinets are installed. However, there can be issues with the dishwasher in particular. Some people like to install the floor last and this can be done but you need to account for height changes.
Installing the sheets of plywood over the new sister beams
The electrician came just in time to remove the wires as the flooring people were ready to put the last pieces of plywood and start the gluing down of the wide plank flooring
PATCHING & PREPARING THE WALLS FOR THE WALL CABINETS
ELECTRICAL AND PLUMBING ROUGH IS ALREADY COMPLETE
INSTALLING THE WALL CABINETS FIRST
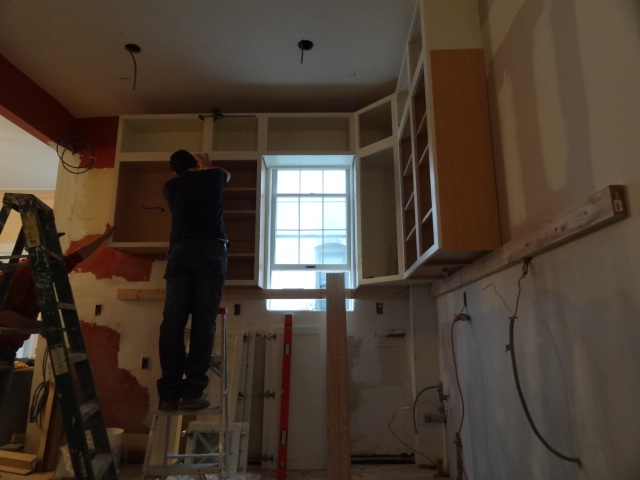
In the photo below, you can see that we were ready to install the new wall cabinets since the plumbing/electrical rough and wall leveling preparation on the left side wall and the re-build on the back wall was complete. Notice that the ceiling has been leveled and repaired along with new 4″ retrofit downlighting holes created with a hole saw. Also notice that the floor is leveled and installed making it possible to put in base cabinets after the wall and tall cabinets are complete. Since this kitchen will have crown molding, it was important to level the ceiling so that the kitchen will look great.
Our lead carpenter, Gent, starts installing the cabinets from the corner and then framing around the window. He makes sure that he can turn the corner with ease as well as frame the window since these are the areas that can cause conflict when installing. So, he tackles these areas first. He installs the plaster window wall first since this is harder to install than the drywall wall.
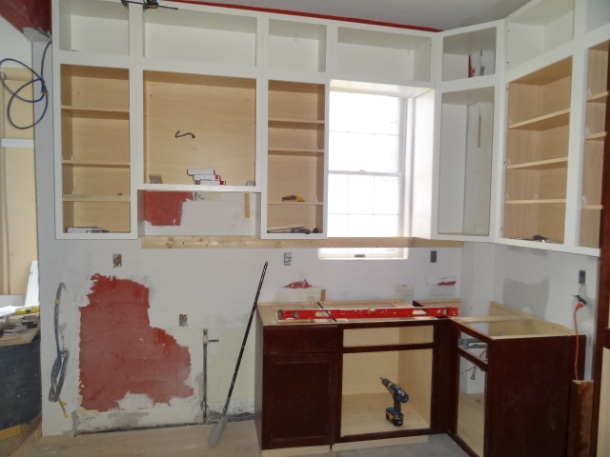
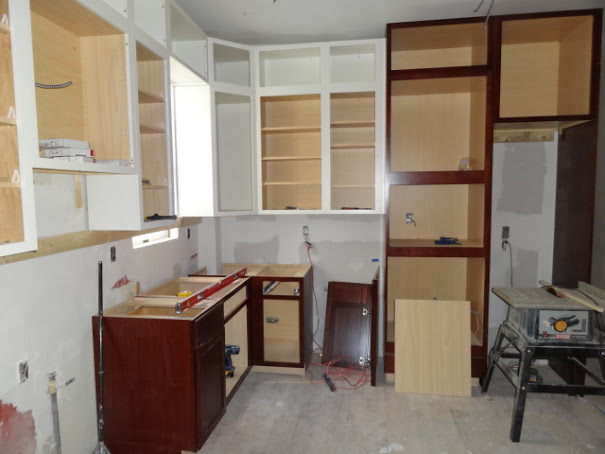
Installing the wall cabinets first and then the tall cabinets and then the base cabinets. Notice how the plumbing will no longer be going through the cabinets and is now inside the new constructed wall on the right. Notice how the carpenters had to prepare the walls so that they could hang the wall cabinets first. Also notice how both the electrical and plumbing rough work has already been done too. There is a new gas line for the new location of the stove on the left hand side of this photo. The electrical outlets are all spaced 4 feet away from each other according to code and there are no electrical outlets by the sink. Notice how the concrete floor has already been removed and how the new wood floor has been installed prior to any cabinet installation.
Notice how the electrical rough has already been completed as well. Now the carpenter is focusing on making sure that the base cabinets are level.
INSTALLING THE COUNTERTOP
Installing the countertop takes about a week. First the stone fabricator will stop by to make a template or laser technology to measure and then it takes about a week to fabricate and a day to install. Holes for the sink and faucet are drilled on site. In this project, we used the stone fabricator to make the threshold for the front door, as well as for two window sills, the bathroom countertop and the fireplace surround and base pieces. Stone should be installed on level cabinets or level surfaces for that matter. It is attached via Silicon on the cabinets. For the threshold and for the fireplace, we used thin set.
PREPARING THE BACKSPLASH WALL FOR A GLASS BACKSPLASH INSTALLATION
First we make sure that the wall is level and flat. Then we apply a thin set to attach the glass tile and diamond crystal grout between the joints. One should not use grout with any sand in it because the sand can scratch the tile. There is an extra layer of white that needs to be applied to wall since the tile is translucent glass. This extra step is not needed for porcelain or ceramic tile.
INSTALLING THE FINISHING DETAILS
BACKSPLASH, ELECTRICAL FINISHES, FASHION PLUMBING, MOLDING & PAINTING
Also installing the Electrical Outlet Covers, the under cabinet tape lighting and in cabinet tape lights, the sink and faucet, appliances requiring both the Plumber and Electrician to come back for a final install of electrical and plumbing fixtures. After this, the kitchen install is complete.


